

Surface finishing is a very repeatable, stable and cost-effective process and is therefore particularly suitable for the post-processing of additively manufactured components. The LFF process in particular impresses with its high surface removal rate and low edge rounding.
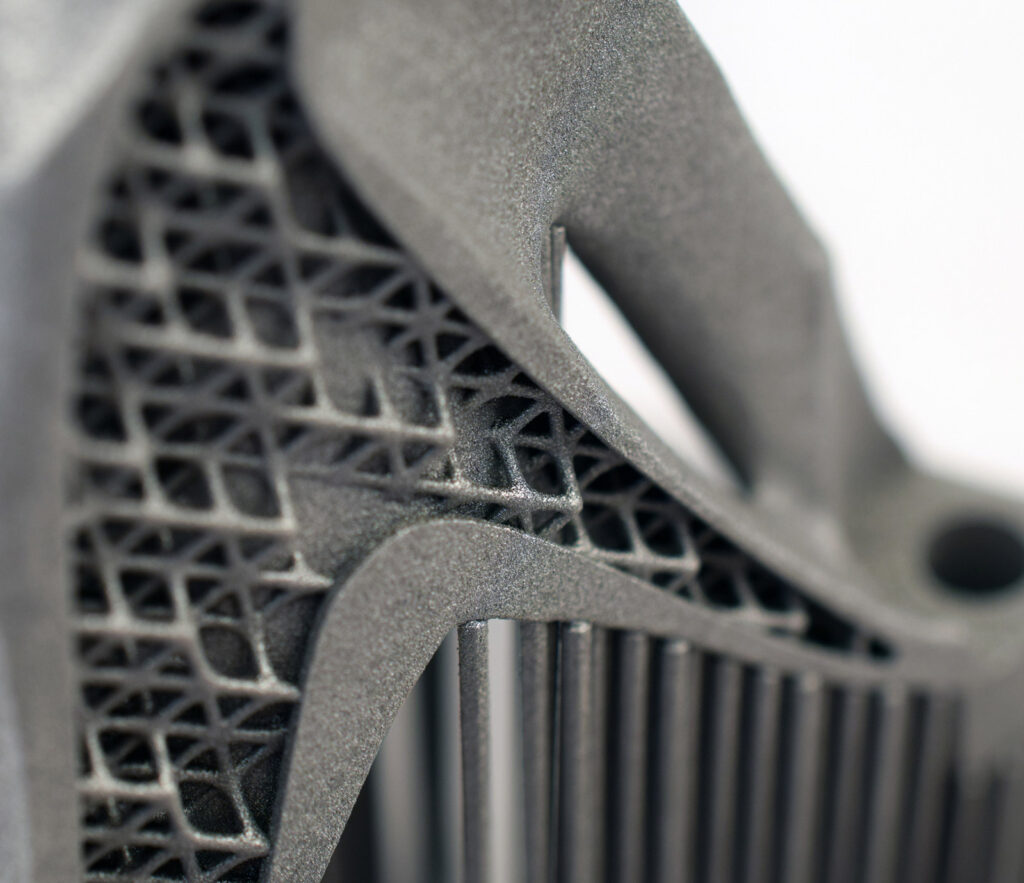
Due to the manufacturing process, the components have a rough surface, which is sometimes characterized by a strong step effect. For visual and often technical reasons, this surface must be reworked. In addition to our proven surface finishing systems, we also offer special AM post processing systems for this purpose. The choice of system type generally depends on the specific surface requirements.
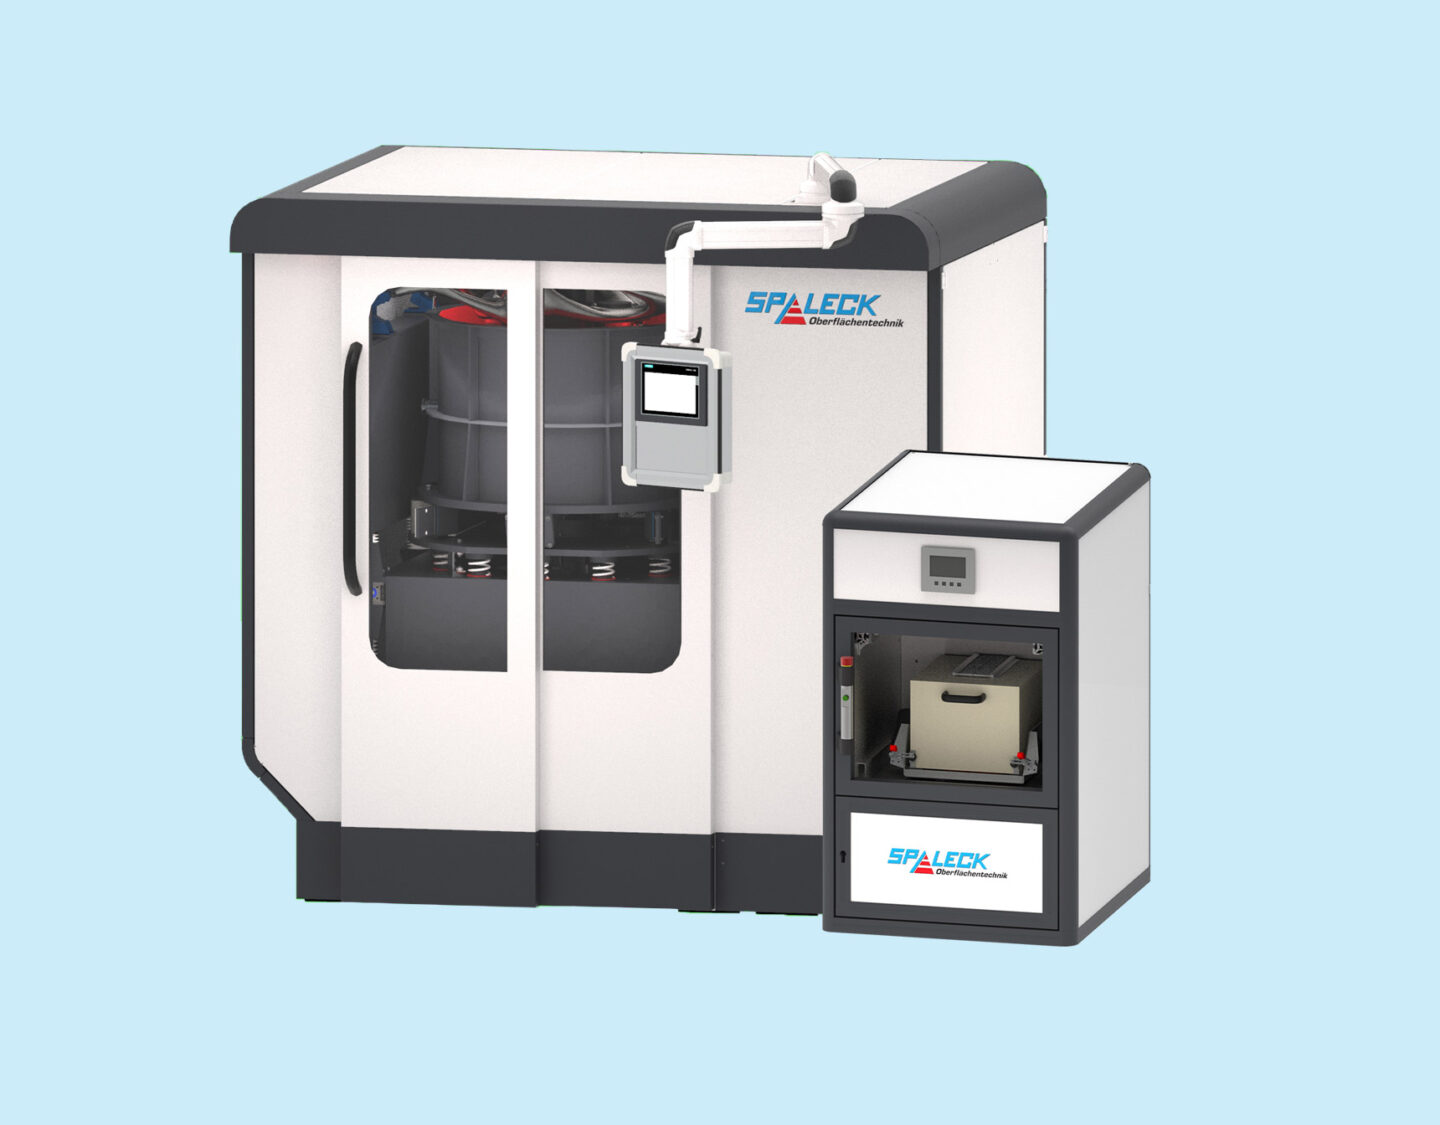
For very high surface quality requirements – small to medium quantities and a limited variance of parts.
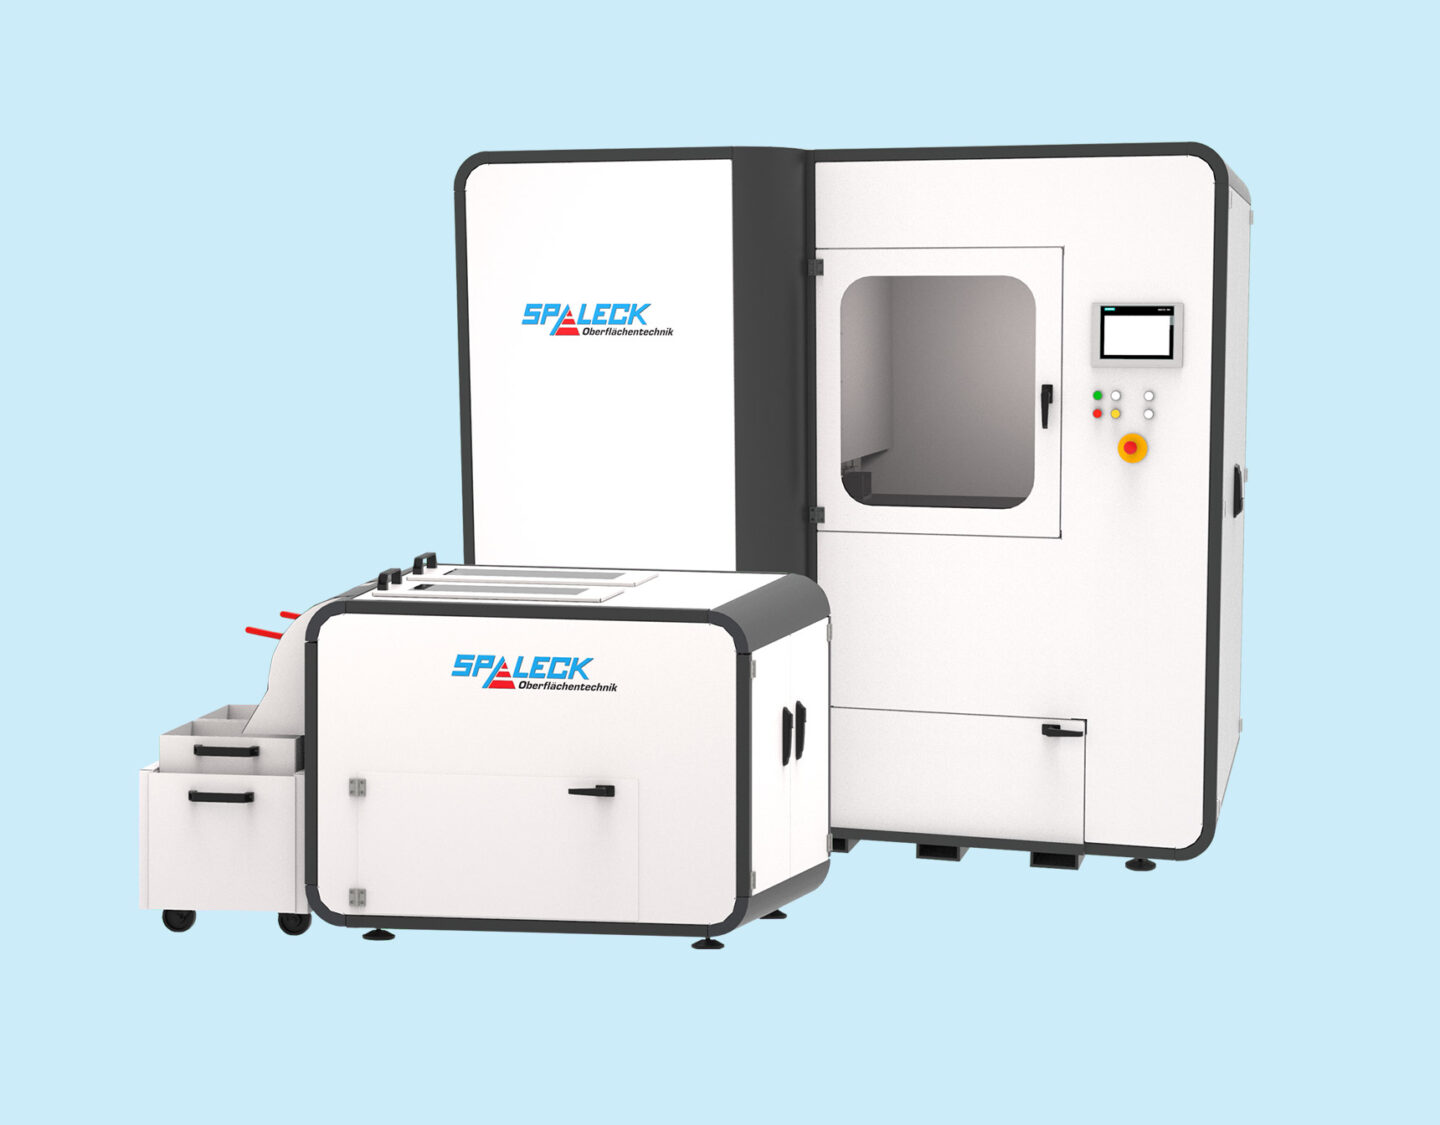
For average surface quality requirements – larger quantities and a large variance of parts.
The LFF process revolutionizes surface finishing. It minimizes shadowing and edge rounding while maximizing surface removal. In contrast to conventional surface finishing processes, in which mainly the edges are processed and long machining times are required to achieve a noticeable surface removal, the LFF process almost reverses this law. It impresses with low edge rounding, intensive surface removal and extremely short processing times, which are up to 15 times shorter compared to traditional roundtub vibrators.


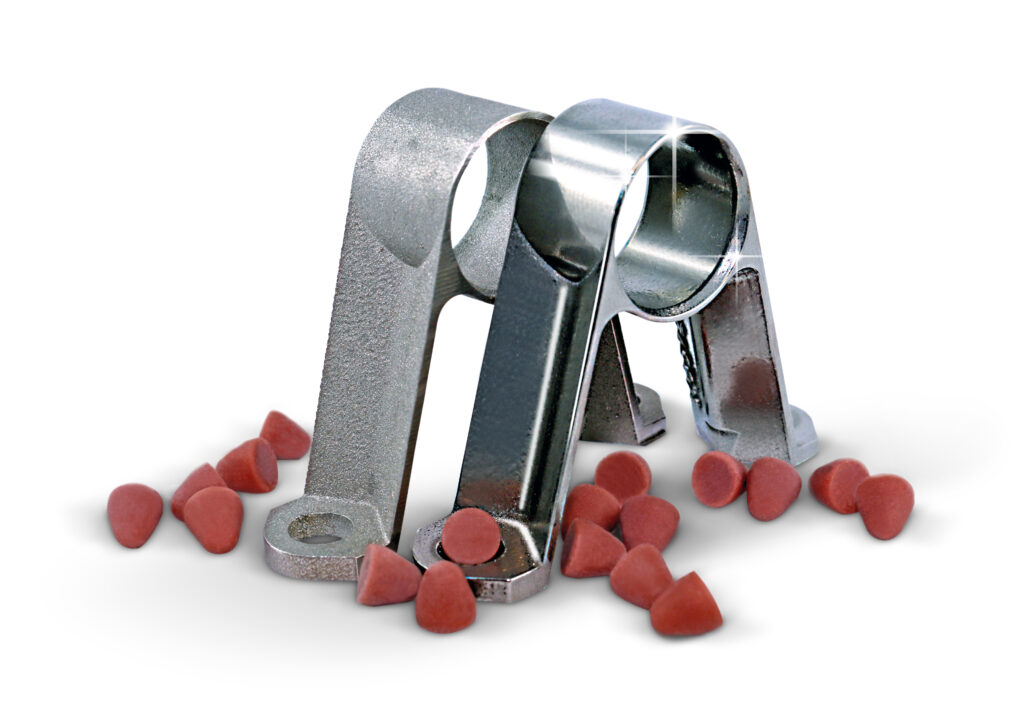
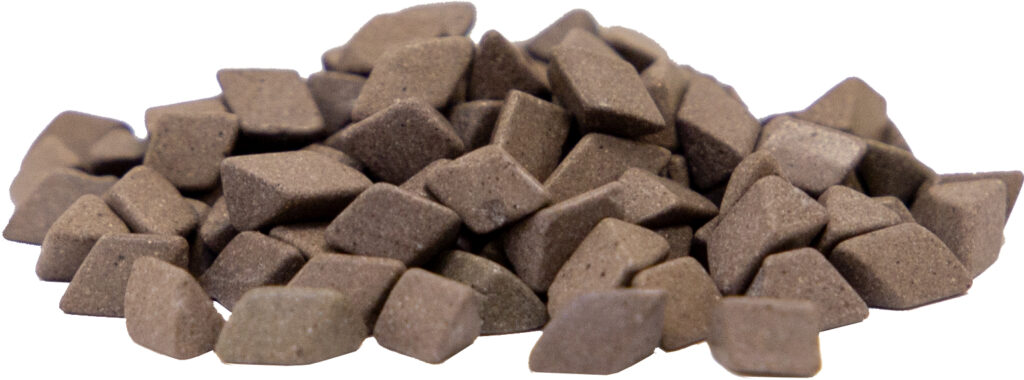
Particularly high removal rate
Long service life compared to other highly abrasive media
Can be used for processing plastics and metals
Sidefact:
Our LLF process achieves a high machining pressure even with small abrasive media. These are advantageous as they are better able to reach complex geometries.
David Huls
Sales
Die casting industry and additive manufacturing
SPALECK Oberflächentechnik
GmbH & Co. KG
Schlavenhorst 117
D-46395 Bocholt
Own training workshop
“More independence, more individual learning!” We give our trainees the opportunity to familiarize themselves independently with the production process and actively participate in it from the very beginning. They are guided by our experienced trainers and can practise their ability to reflect and self-monitor.

Individual further training opportunities
“More knowledge, more opportunities!” Through targeted training, you can expand your skills, strengthen your employability and advance your career with us.
Flat hierarchies
“More freedom, more speed!” With us, decision-making processes are shorter, communication is more direct and the sense of togetherness is stronger. No long back and forth – just get started!

Employer-financed company pension
Depending on your length of service, you will receive a lump sum at the start of your pension – a nice extra for your future!
Company pension scheme
More pension, fewer worries!” Our company pension plan offers you additional financial security in retirement – without any major outlay. The employer subsidy helps you build up your pension, so you can sit back and relax.
Bicycle leasing
More freedom, more fitness!” With a JobRad you can not only make your commute to work environmentally friendly, but also go on relaxed bike rides in your free time – this way you promote your health.
One-shift operation
“One shift, more serenity!” With fixed shift work, you can rely on clear working hours. No constant switching between early, late and night shifts – that means more stability and less stress.
Vacation and Christmas bonus
“Extra money, extra joy!” Vacation and Christmas bonuses are like little gifts that bring you joy all year round. Whether you use it to top up your travel fund or treat yourself to something special – financial extras ensure a good mood and motivation.
Flexible working hours
“Work flexibly, live flexibly!” Whether you start earlier to have the afternoon free or start later to avoid traffic – flexibility increases satisfaction and productivity.
30 days vacation
“More vacation, more power!” With a generous 30 days’ vacation, you can really relax, explore the world and experience new adventures – without stress and with plenty of sunshine in your heart.
35 hours week
“More free time, less stress!” With a 35-hour week, you have enough time for hobbies, family and spontaneous trips – without the stress of overtime.
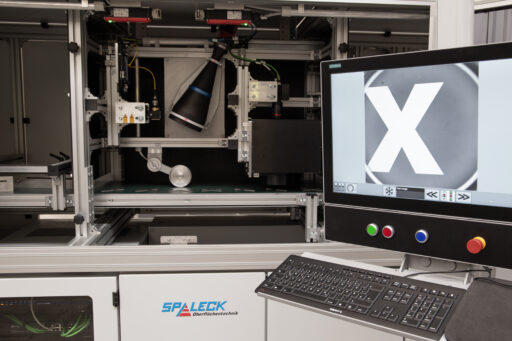
Inspection technology for maximum precision
The material handling is realized by our in-house machine construction in coordination with the requirements of the inspection technology.
Our proprietary software solution makes it possible to solve the inspection task in a customer-specific manner and includes the option of defect classification and statistical evaluation.

EMS sensors
This measuring principle for checking the electromagnetic signature is used worldwide in vending machines in which coins are used for payment. Inductive testing of the coin or coin blank provides information about the material composition and/or coating of the coin/blank. The measured values of the individual object are compared with a material database and assessed as good or bad depending on the deviation from the references or the deviation defined as acceptable.

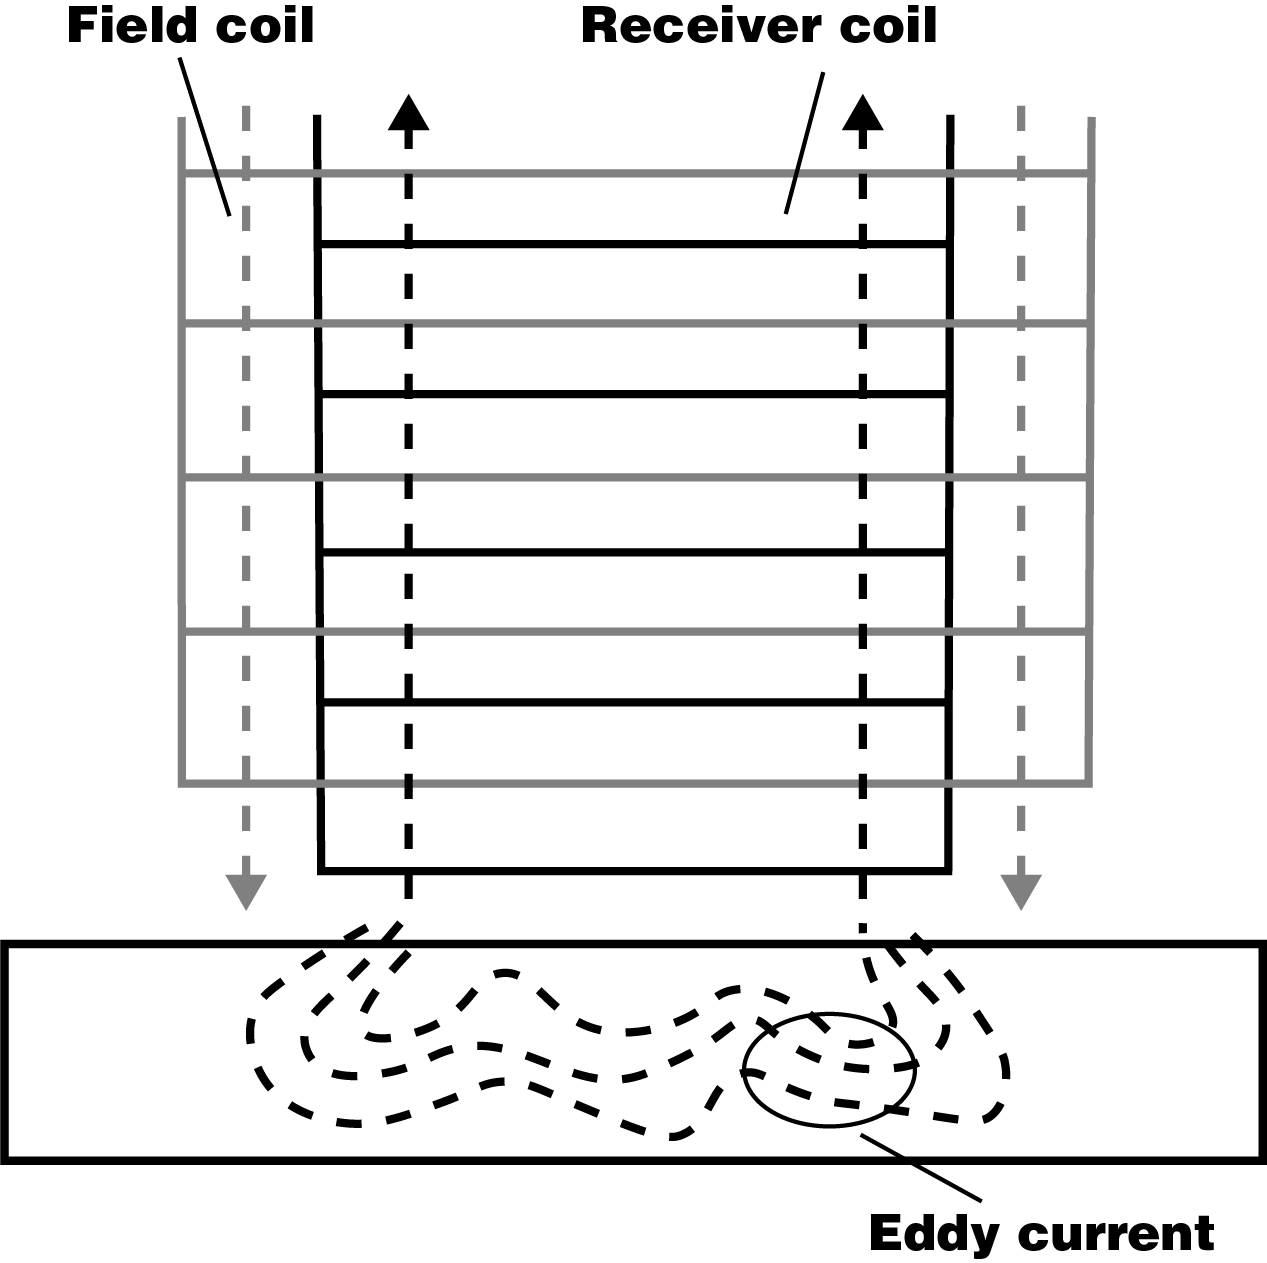
Eddy current measurement
Eddy current measurement is a non-destructive method for testing metallic surfaces. With the help of high-frequency electromagnetic interactions, different material hardnesses can be detected and analyzed both manually and automatically. This method plays a decisive role in quality assurance, as it measures the mechanical resistance of a material against the penetration of another body.

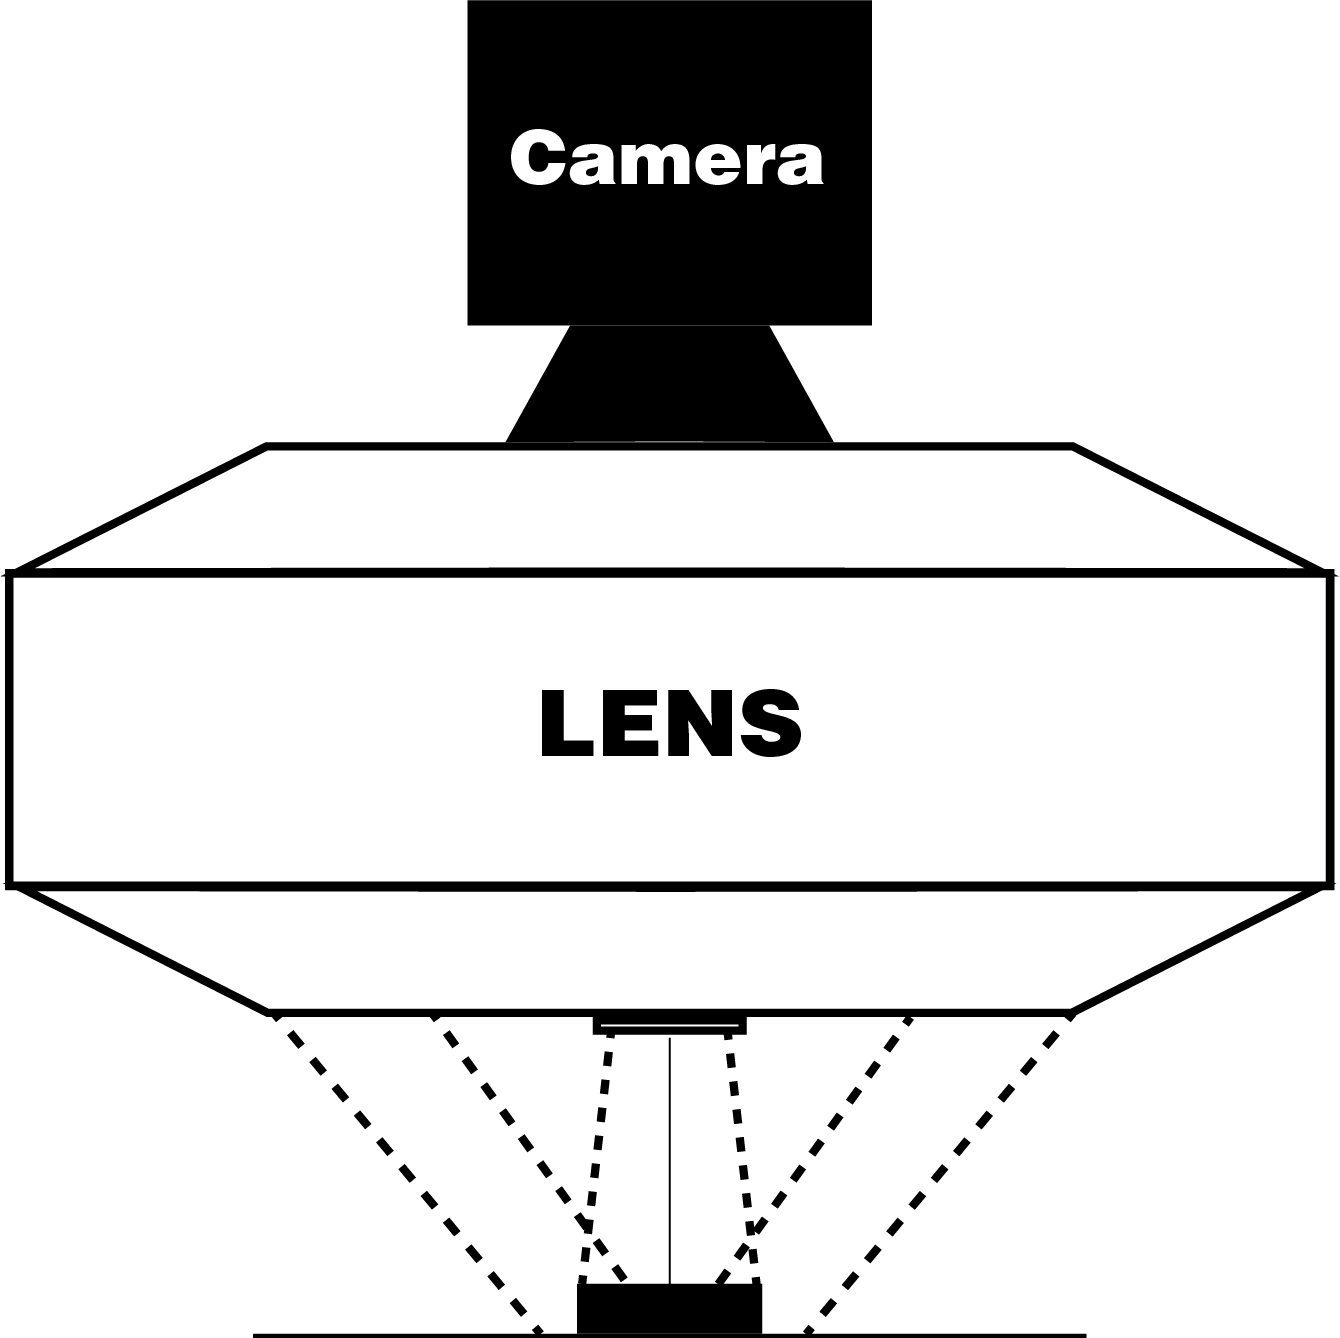
2D camera technology for edge inspection
For geometric reasons, 2D and 3D camera technology only captures the top and bottom of an object, but not the edges. A special 2D camera in combination with a ring light and a catadioptric lens is used to inspect the edge surfaces.
The following features can be checked using 2D camera technology for edge inspection:
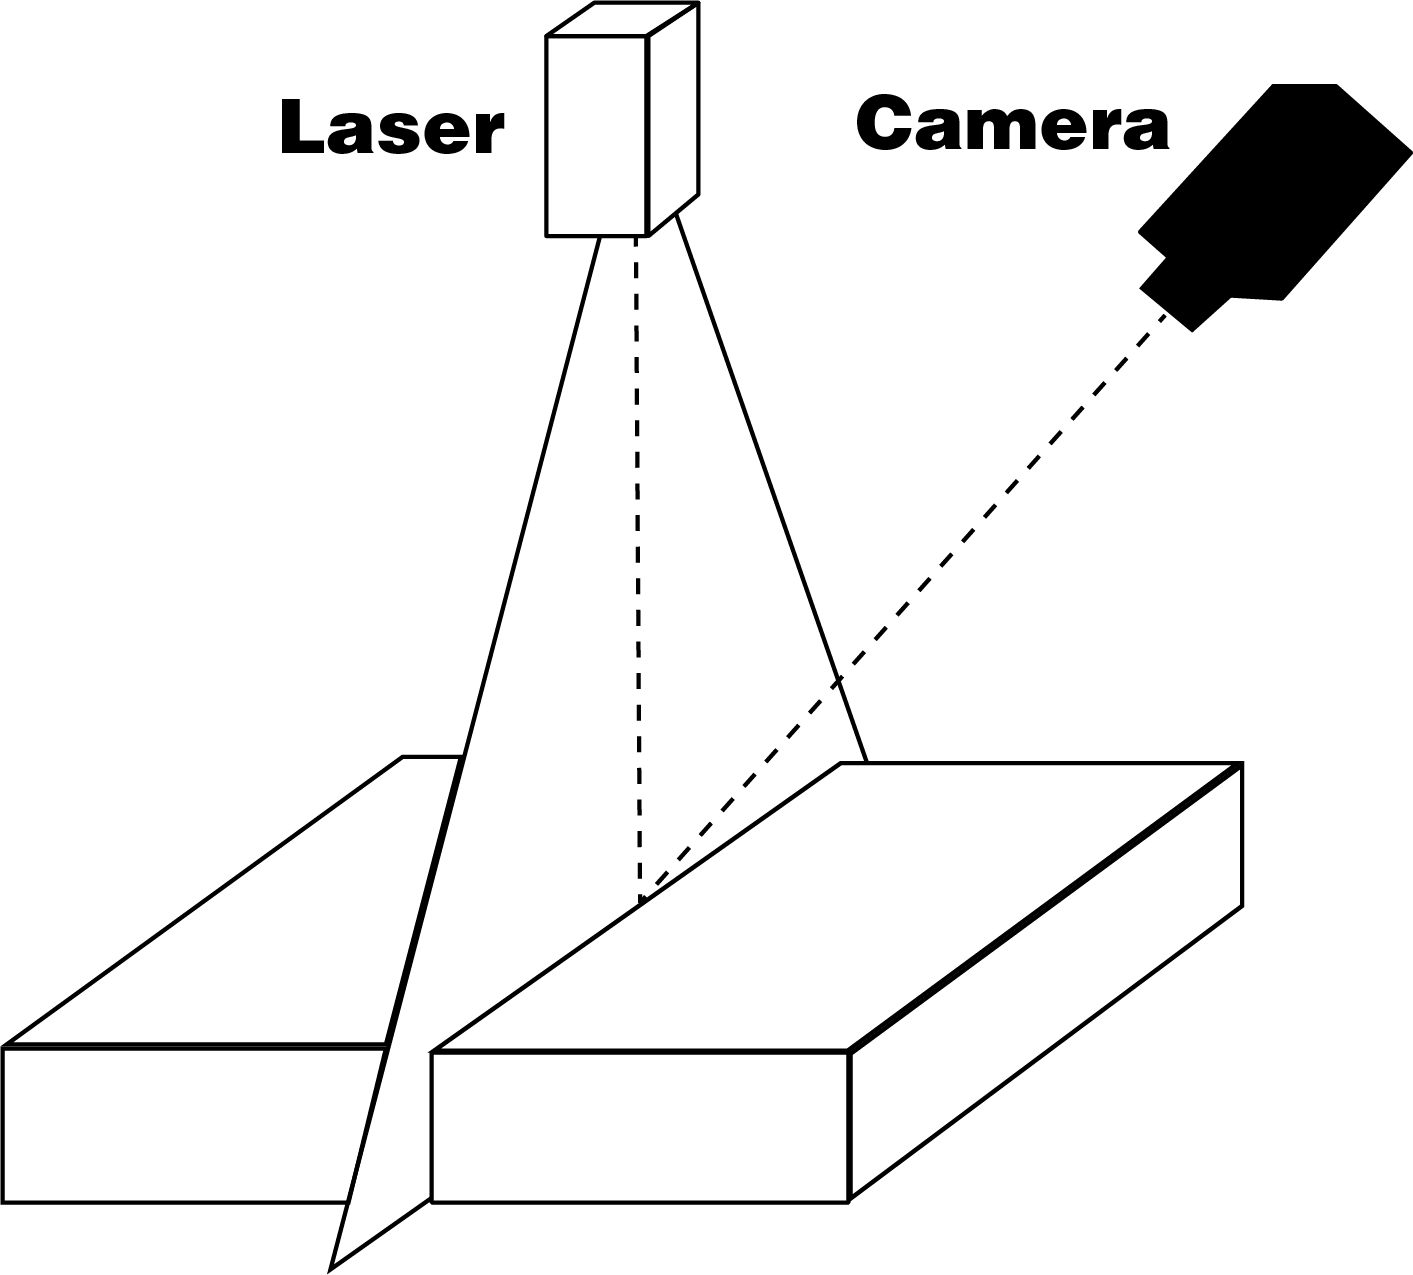

3D camera technology
3D image capture picks up where 2D camera technology reaches its limits, particularly with regard to the depth of field of the images and the ability to recognize differences in height. To create a height profile, the component is illuminated with a line laser. The laser beam is reflected and captured by a camera. The illumination of the line laser generates many sectional images. This partial information of the component is put together by the software to form an overall object.
The following features can be checked using 3D camera technology:
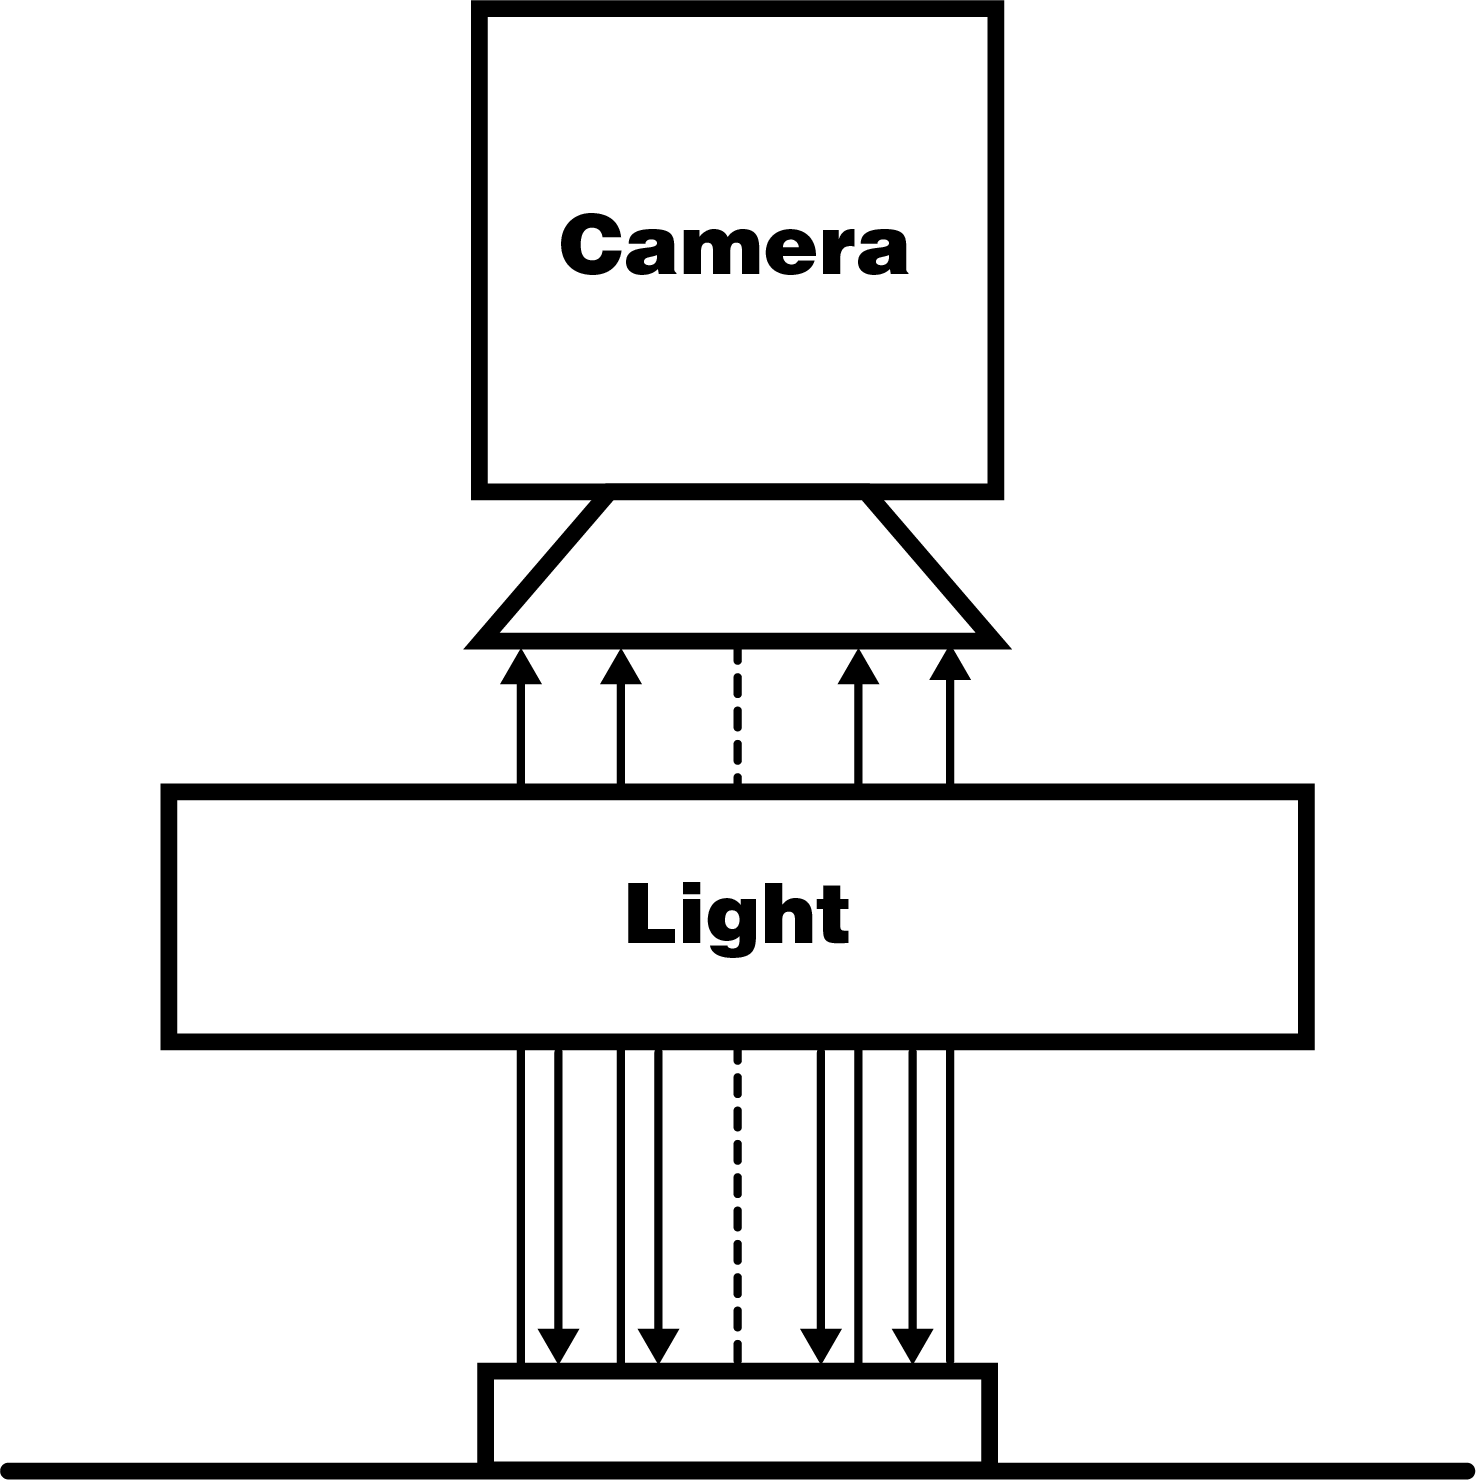

2D camera technology
2D image capture is based on the principle of the human eye – light falls on an object, is reflected and captured by the eye. In our systems, artificial lighting is used to generate light beams that are reflected by the object and captured by the camera. The choice of suitable lighting and camera depends on the application.
The following features can be checked using 2D camera technology:
Decision
The components are classified based on the set inspection parameters. The data can be stored and analyzed via an SQL database or transmitted to a higher-level system.
Image analysis
The image analysis is performed by algorithms that process the data generated by the image acquisition. These algorithms are integrated into the operating software, which is used to control the system and define and save the inspection criteria.
Image acquisition
Image acquisition includes the selection of lighting and camera technology. The type and sensitivity of the components are determined according to the previously defined test characteristics and tolerances.
Handling
The variety of components and the desired degree of automation make component handling crucial. Transport and precise positioning under the inspection tool are crucial for optimum inspection results.
Inspection
The same requirements apply for an optical inspection as for the human eye. It is important to describe the component, define the characteristics to be tested and specify the tolerances.